Decipher the structure of photocard holder
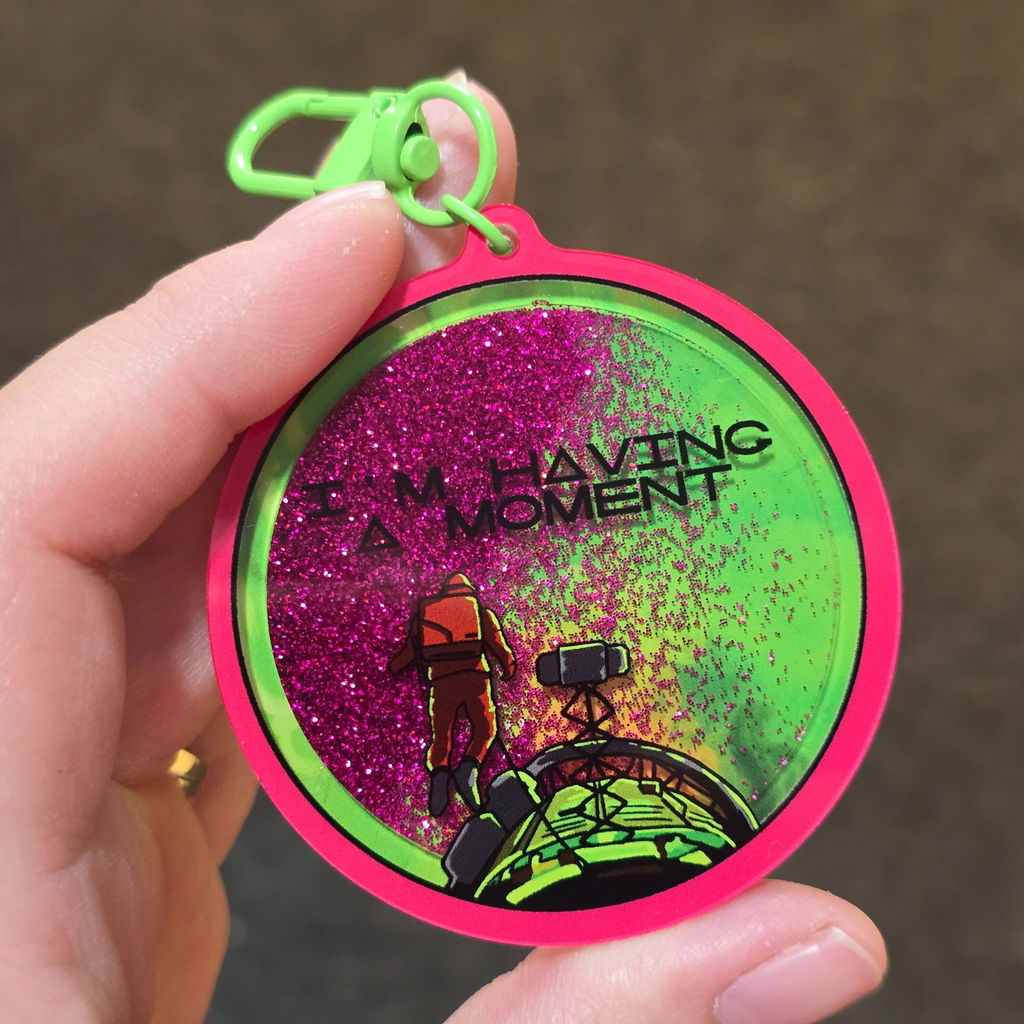
The photocard holder keychain shares a highly similar structure with the shaker charm, and it is also composed of three parts.
We will break down these three components and explain the function of each part in detail. The first layer is designed to display your photocard. Please reserve a clear space in the center for this display area. All other elements, including the overall shape, color scheme and dimensions, can be designed freely according to your preferences.
The second acrylic layer serves as the base for holding the photocard. Therefore, the second acrylic layer will be designed with a hollowed-out section. As shown in the figure below, the blue area is left empty to allow easy insertion of your photocard.

As it will be covered by the top and bottom layers, we generally do not apply any printing on this layer.
The third acrylic layer is the final back panel of the photocard keychain. We recommend double-sided printing for this layer, and we recommend you to provide designs for both its front and back sides.
The front design is essential for aesthetic purposes. When no photocard is inserted or the photocard is removed, the background of this layer will be visible. A custom front design ensures a complete, polished look at all times, rather than revealing a plain blank surface.
In the proof of the photocard keychain, in addition to the accessory hole, you will also notice a larger oval cutout. This functional opening is specially designed to make it easier to remove your photocard. You may also fully customize the shape and size of this cutout.
If you only upload two design files for the front and back of the keychain, the background will adopt the same design as the back side by default!
Since our photo frame keychains feature custom shapes with no fixed design standard, there is no universal template available.
However, if you would like to create a style consistent with our main product images, you may use our standard template!