The Beginner’s Guide to Bleed and Print File Setup
What Is Bleed? What Is It Used For?
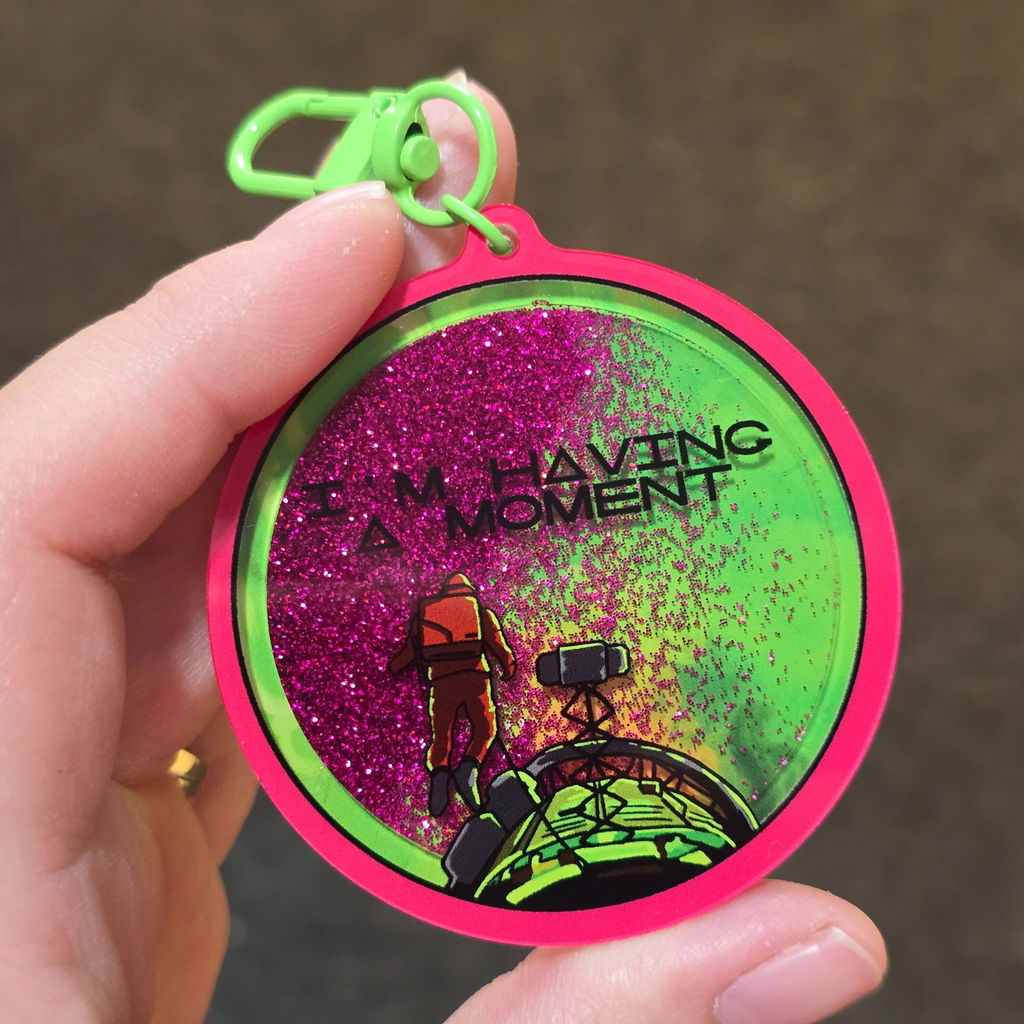
Files that require bleed are mainly paper products,round button pins, badges, and acrylic products without transparent borders.
Bleed is a professional term in the printing industry, referring to the part of the image that extends beyond the final trim size. You need to expand your design to cover the areas that will be cut off at the edge. This helps minimize trimming errors and avoid missing content on the finished product.


Common Bleed Misconceptions
Submit the design as-is
When preparing your artwork, you only design according to the final finished size without adding any bleed margin. In this case, a blank white border around the design will become the de facto bleed area during layout and printing.
Paper products are cut by mechanical trimming tools, which cannot achieve 100% precision during production. Minor cutting deviation is inevitable, though the error is usually small.
Therefore, if the original file without bleed is printed and trimmed directly, white edges may appear along the borders of the finished product.
If we receive your file without bleed, we will extend the bleed from within your existing design and update it in the proof.
Solution:
Add the bleed margin when you create your artwork.

Essentially, the bleed area only gives extra space to accommodate trimming errors, it does not eliminate cutting deviation entirely.
Therefore, important content and borders should never be placed too close to the bleed edge, so as not to compromise the integrity of your design.

Solution:
When designing borders, keep a safe margin on all sides and stay away from the bleed line to prevent unwanted trimming.